
Welcome to the garage!
We're breaking down how to build a SKYTRAK ST+ Golf Simulator 8 ft. Ultimate Studio Package in your garage. Perfect for a standard two-car setup, this system proves that a pro-grade indoor golf simulator experience doesn't require a massive space - just smart design and the right gear.
Measuring Ceiling Height, Width, and Length
Before unpacking anything, ensure your space clears key dimensions:
- Ceiling height: A minimum of 9-10 ft is ideal for full swings with any club - especially woods and drivers. While some users get by with 8.5ft, taller golfers or those with more vertical swings may need the extra foot.
- Width/Length: minimum 8' width to fit the enclosure comfortably.
What's in the SKYTRAK ST+ Golf Simulator 8' Ultimate Studio Package
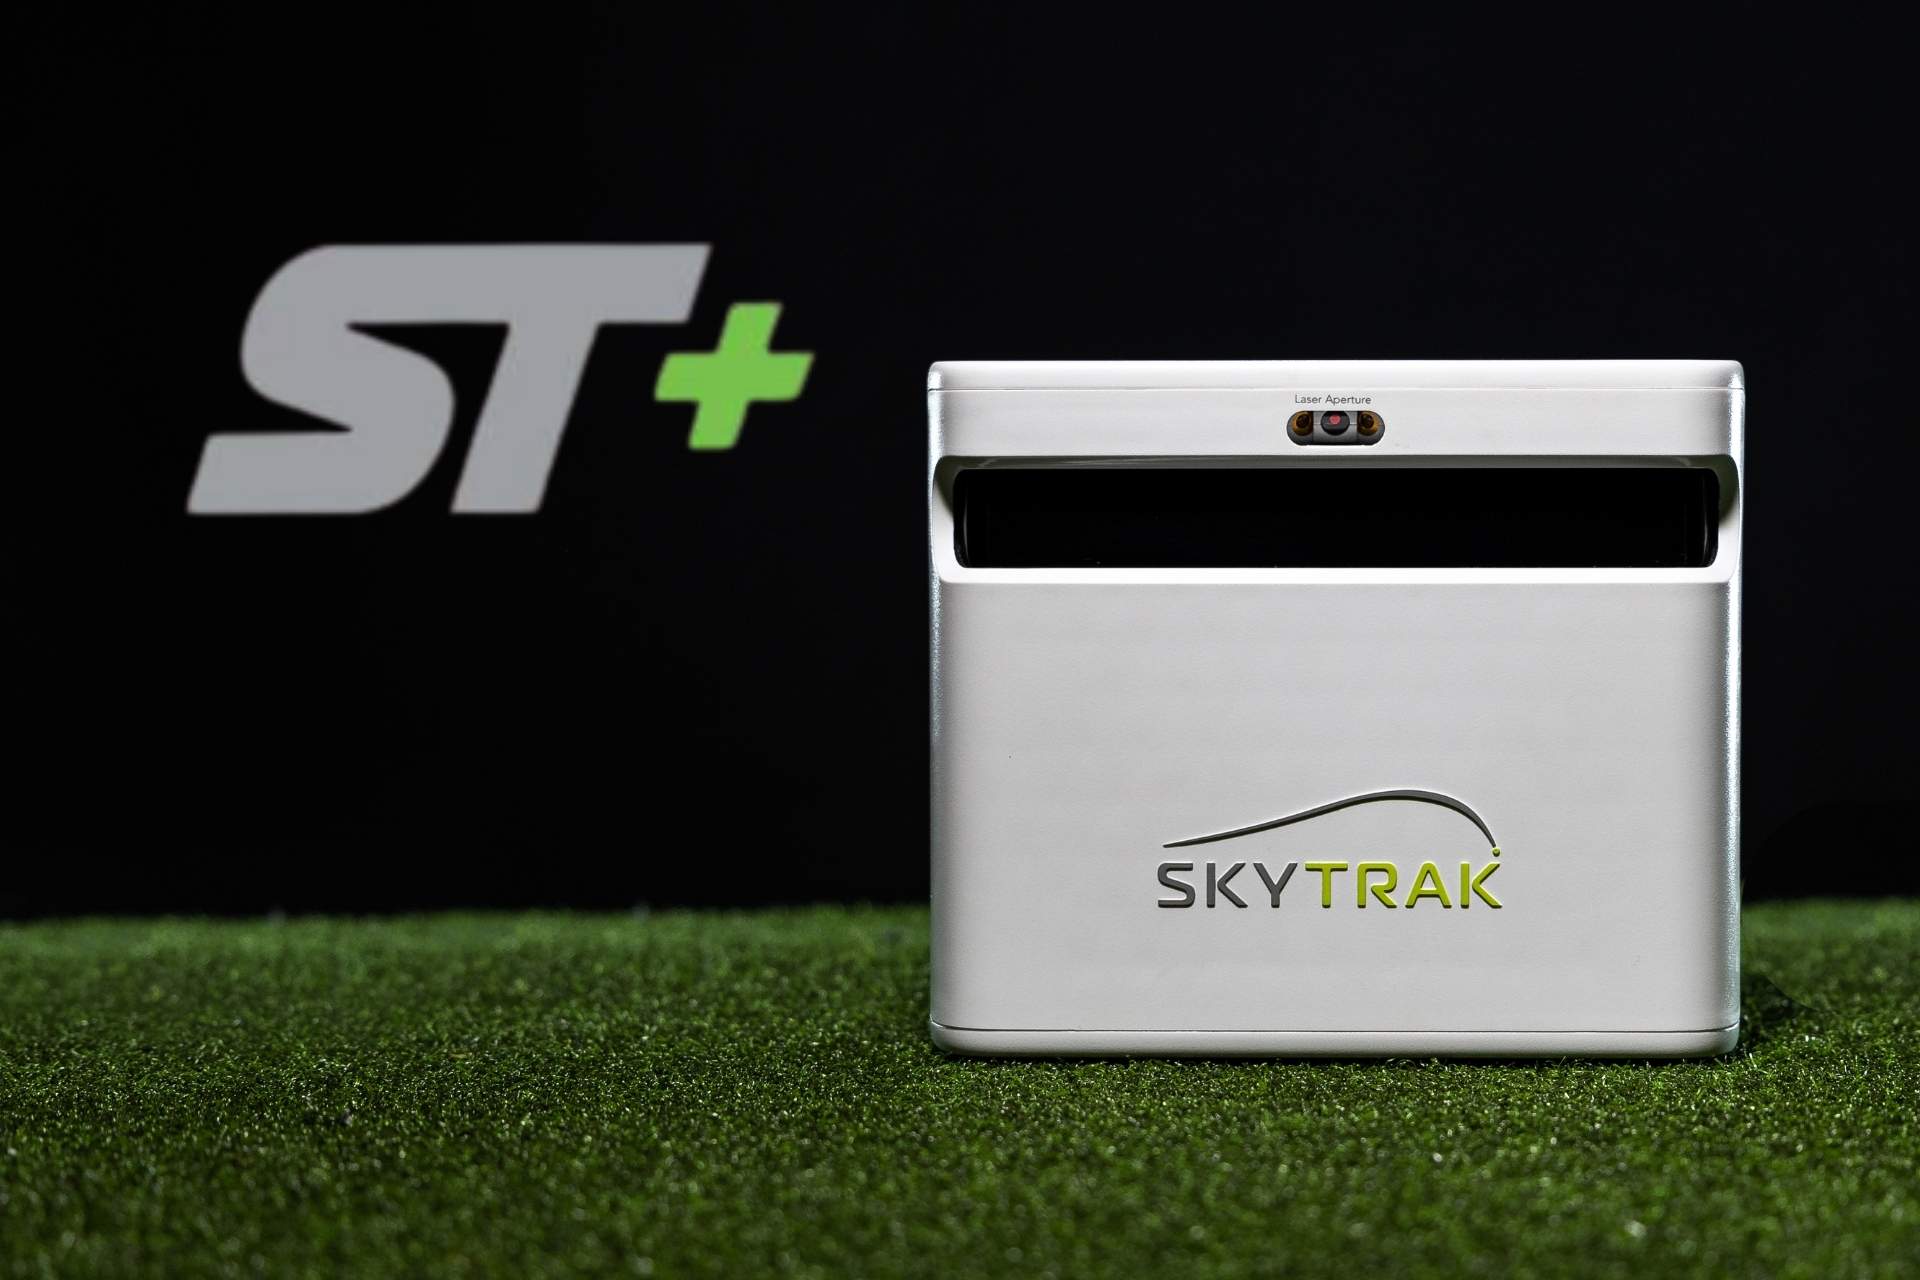
- SKYTRAK ST+ Launch Monitor
- ST+ Protective Case
- Enclosure, Screen, and Frame
- Hitting Mat, Putting Turf, and Ball Tray
- Projector
Indoor Golf Sim Assembly Tips:
1.Start with the Frame Base
Begin by laying out all the frame poles. Locate the corner brackets for the legs and top sections, as well as the strap brackets used for tightening the frame. Set the enclosure aside for future steps.
2. Putting the Enclosure on the Frame
Build the frame from the top down. Once the top section is complete, place the enclosure over it before continuing. Identify the top of the enclosure by three velcro tie-downs on the short side. Lightly secure the sides with velcro to hold it in place, then finish assembling the frame and tighten everything down.
3. Installing and Tightening the Base
Secure the frame base to the floor and firmly tighten all side connections. This adds stability and helps reduce bounce and noise from impact.
4. Attaching the Impact Screen
Start with the velcro at the upper corners (velcro runs along all sides except the bottom). Begin in the top right corner, then work your way across. It's a one-person job, but even easier with help. Ensure the frame is mostly built before attaching the enclosure and impact screen.
5. Full Enclosure Setup & Review
Build top-down, add the enclosure midway, then finish the frame. Tighten all velcro straps, install the impact screen, and adjust for snug fit. Finally, lay out your hitting mat, putting turf, ball tray, projector, and floor mount case.
Why SKYTRAK is Pro-Grade
- Space-Smart Design: Fits comfortably in any space that fits 8 ft. of width.
- All-in-One Ultimate Package: Comes complete with pro-quality components - launch monitor, frame, screen, turf, and projector - so you can start playing or practicing right out of the box.
- Tour-Level Accuracy: SKYTRAK ST+ Launch Monitor blends photometric radar technology to provided detailed club and ball data - a significant upgrade for home setups.
- User-Friendly DIY Build: Clear steps, organized parts, minimal tools. One person can assemble it in about an hour.
Talk with a SKYTRAK Sim Pro
Before choosing your setup, connect with a SKYTRAK Sim Pro. They'll help match the ideal package and layout to your space - ensuring the most accurate performance and setup that fits your game and your home.

1 comentario
Brenda Nordhues
Is there a list of installers in the nebraska area
Dejar un comentario
Todos los comentarios se revisan antes de su publicación.
Este sitio está protegido por hCaptcha y se aplican la Política de privacidad de hCaptcha y los Términos del servicio.